Today I’ll show you how to :
- Login to your WordPress Dashboard
- Apply a new theme to your website
- Edit the Home Page
One of the most important things to do after setting up your website is to edit the home page. This is a signal to search engines like Google that your site is a legitimate one that Google can trust.
If you need help during this course, you can send me an email to [email protected]
Here’s how to do it.
Step 1 – Login to your Site’s WordPress Admin Dashboard
You can log into your site as the site admin from your DreamHost account.
- Login to your DreamHost account (go to https://panel.dreamhost.com/)
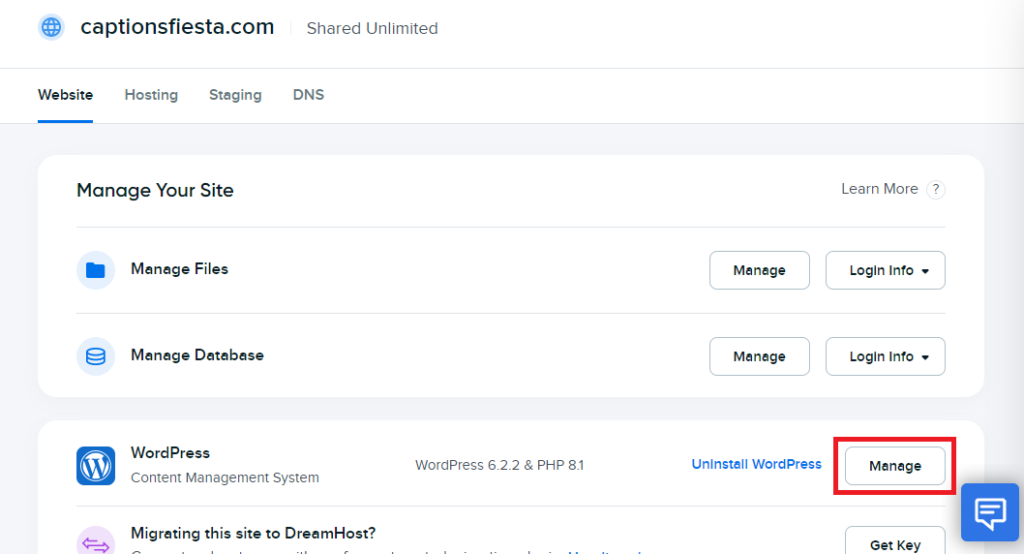
- Now you’ll see the newly created website. Click “Manage”

- Now you’ll see this:
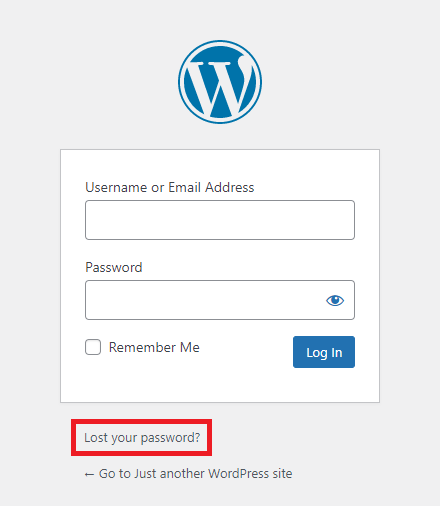
- Now you’ll be get this screen asking you to enter your username and password to the site.
- When your site was first created, DreamHost has automatically assigned a username and password to the site (different from your DreamHost login details) and you can see them by accessing your database. But its a complicated process.
- So Instead we’ll use a shortcut and reset the password using “Lost your Password” option in the login screen.
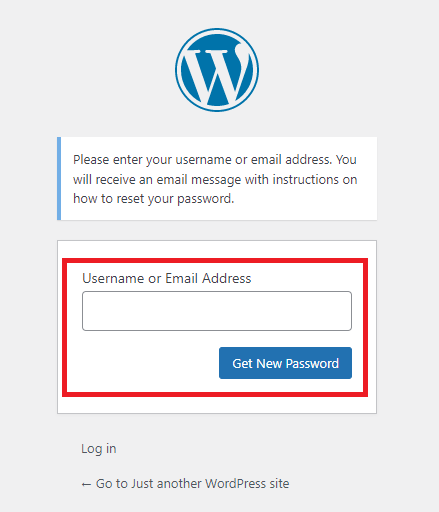
- Now you’ll be asked to enter your username or email. Since we don’t know the username yet, enter the same email used to create the DreamHost account.
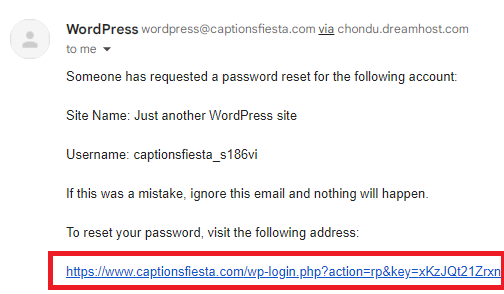
- You’ll receive an email with a password reset link. This will also contain your automatically generated username. Click on the rest link and reset your password.
- Now you can login to your site as the site admin with your email address and newly created password.
- When you login, the WordPress admin dashboard will look like this:
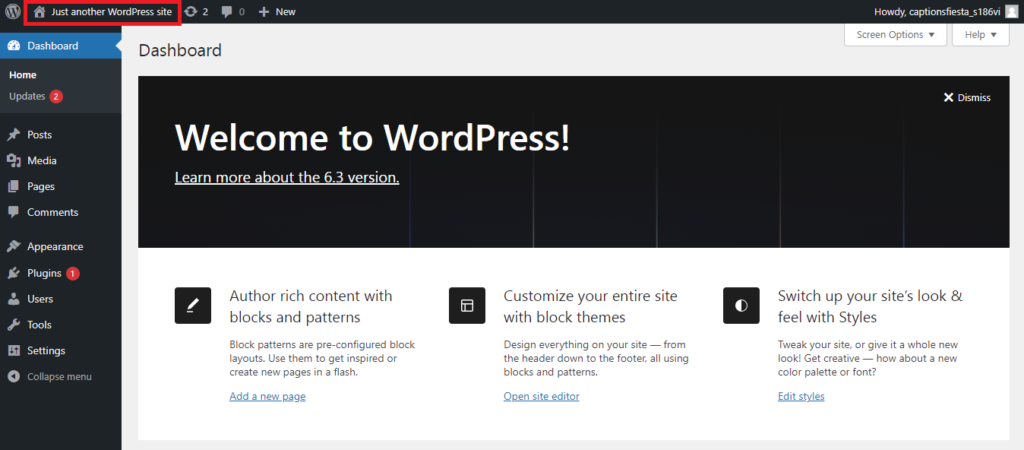
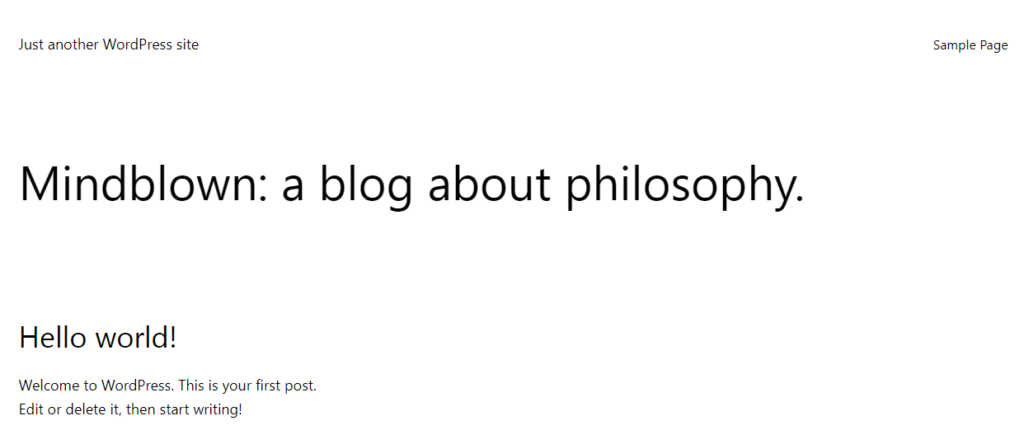
- When creating the site, DreamHost has named your site as “Just Another WordPress Site” as you can see in the top left corner. If you click it, a new tab will open which will take you to your site. It’ll look like this:
Step 2 – Applying a new theme to your site
In this step, we’ll apply a nice theme to our site.
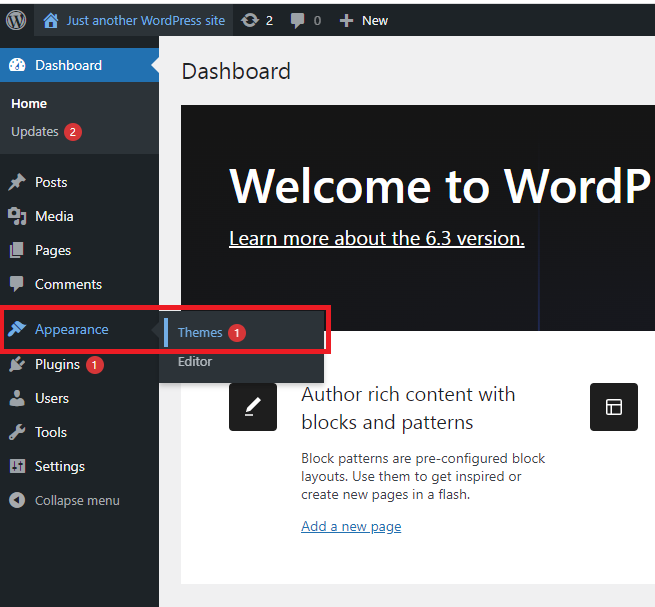
- Go back to “WordPress Admin Dashboard” (You can also login by typing “https://yoursitename.com/wp-admin”. For my site it’s https://captionsfiesta.com/wp-admin)
- On the left side menu, go to “Appearance” -> “Themes”
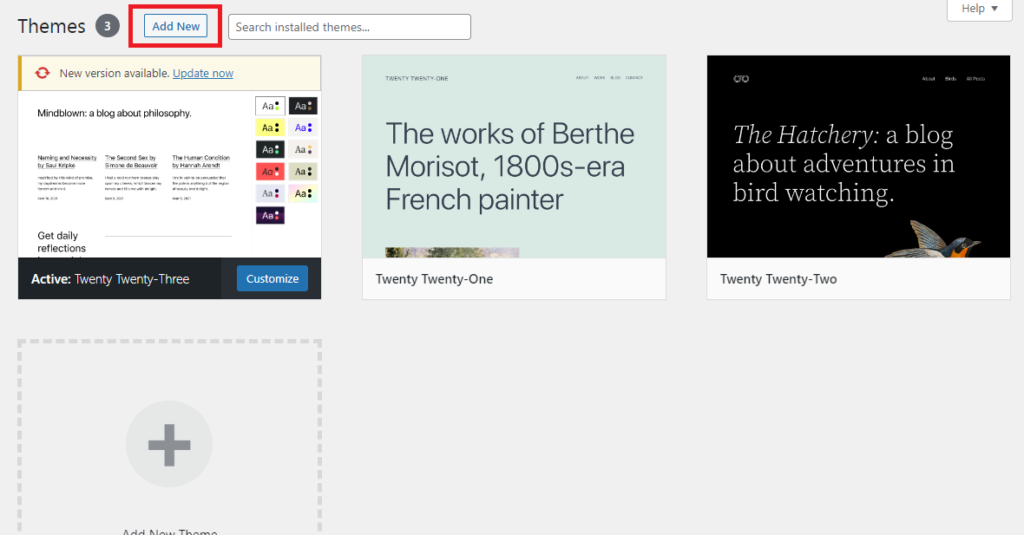
- Now you’ll land on the Themes page. Click “Add New”
- I’ll be using “Neve” theme for this course as its free, easy to edit and lightweight so it won’t slow down the site loading speed.
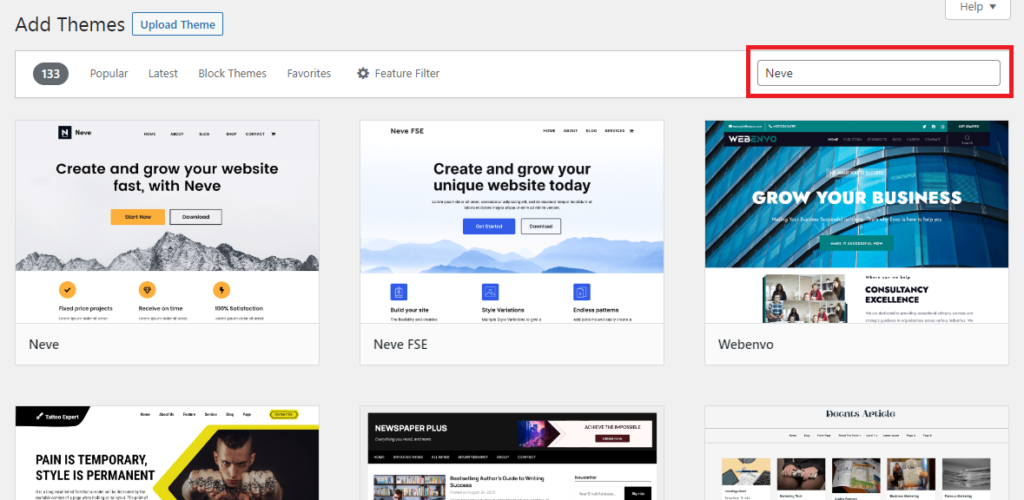
- In the search bar search for “Neve”
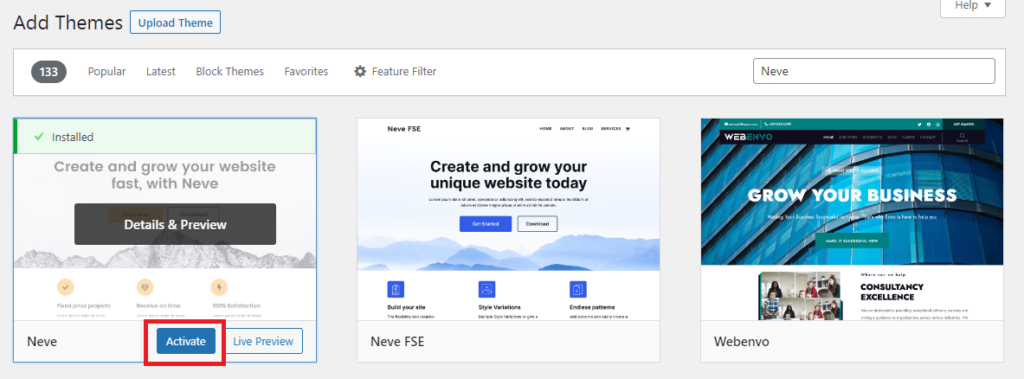
- Click “Install” to install the Neve theme

- After installing click “Activate”
- Now you’ll get a screen like this:
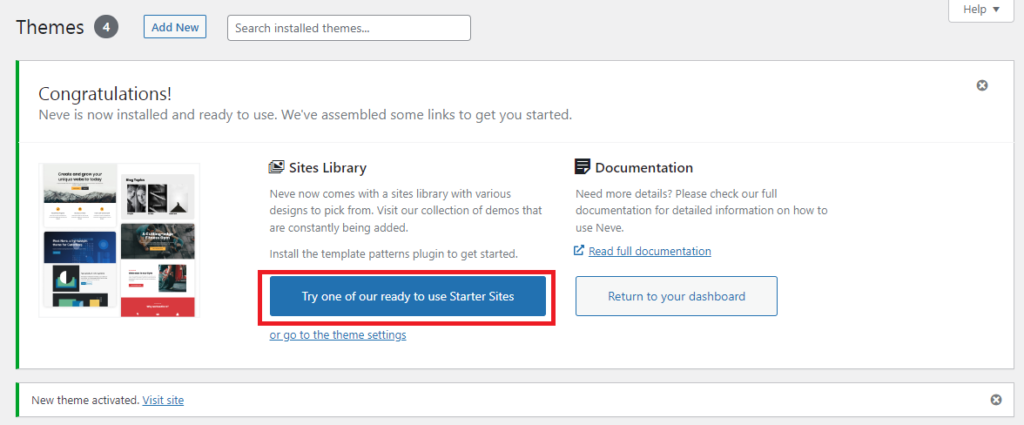
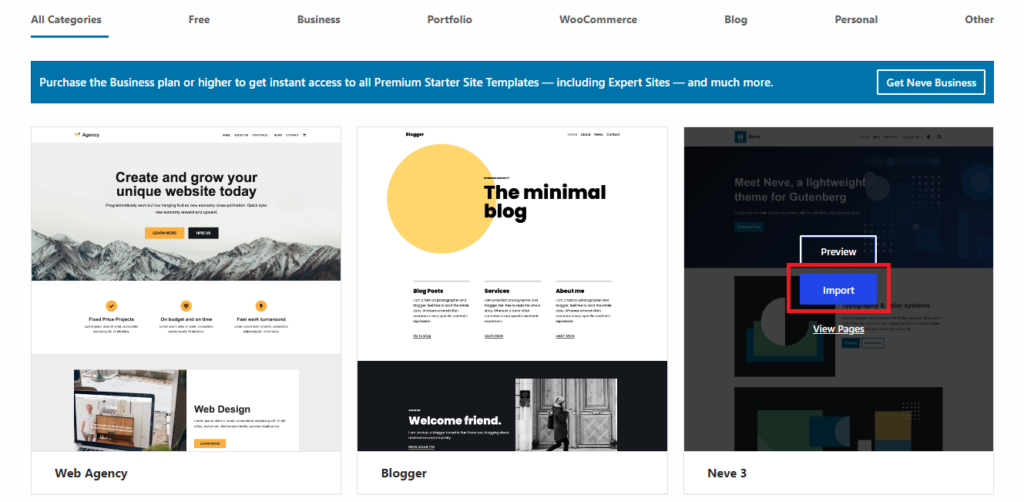
- Click “Try one of our ready to use starter sites”
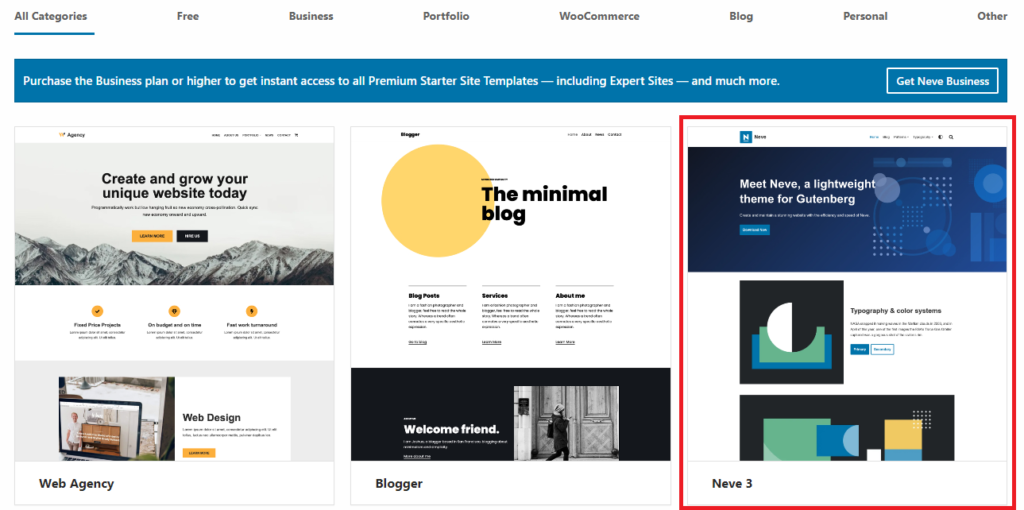
- Select “Neve 3” and click “Import“
- Then you’ll get this box and click “Import Entire Site“
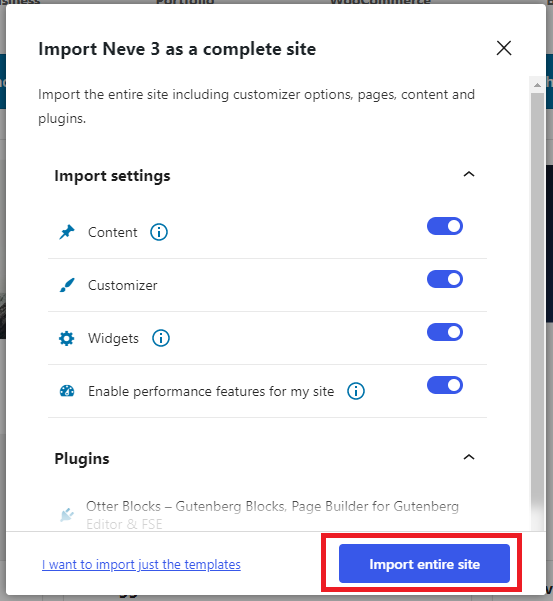
- Now “Neve 3” theme will replace your current site’s theme and you’ll get the following screen when the install is complete.
- This is the Home Page of your site and you can edit it here.
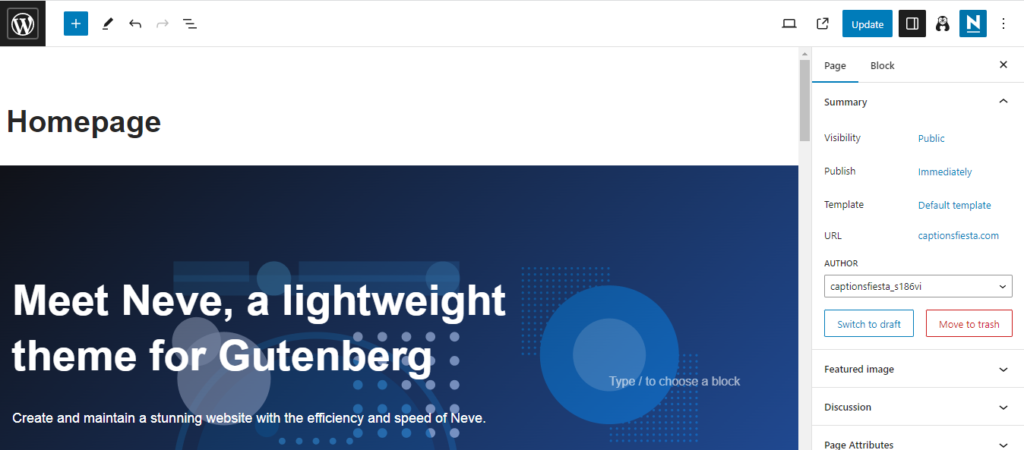
Step 3 – Editing the Home Page
- The home page is made up of a number of “Blocks”. These blocks can be “Text Blocks”, “Image Blocks” etc.
- You can click on any text or Image and Edit it to suit your style.
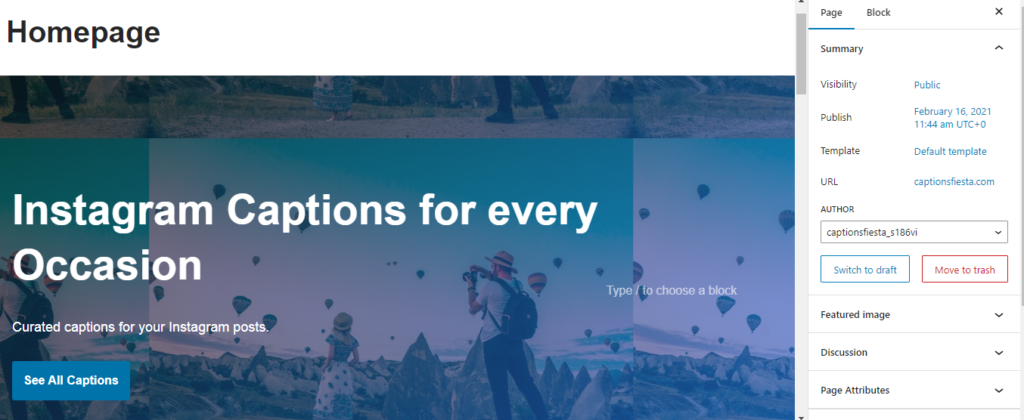
- First click on the Heading text that says “Meet Neve, a lightweight theme for Gutenberg” and change it to “Instagram Captions for every Occasion”
- Then change the subheading text and the text appearing on the Button. (Later we’ll link the button to show all our posts)

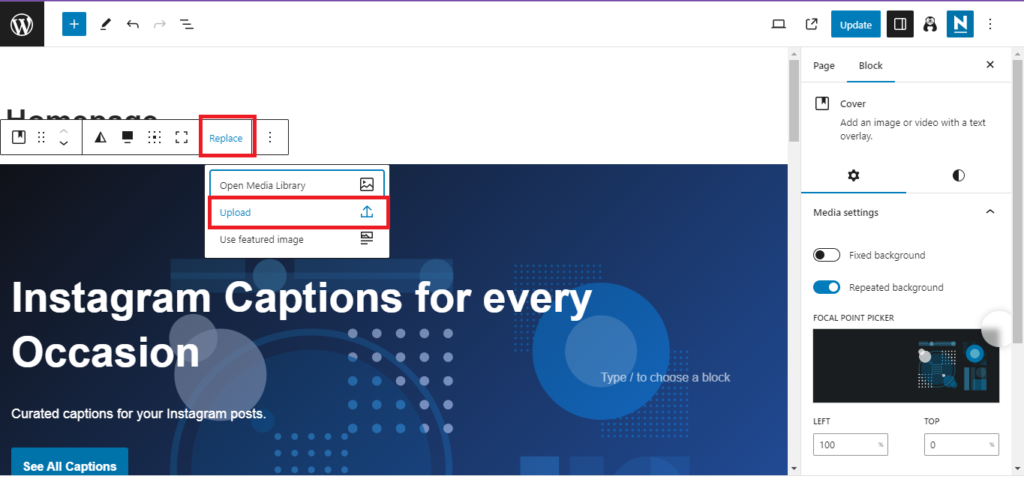
- Now we’ll change the background image. For this I have found a new background image from unsplash.com which is a free image library.
- Click on the image and a toolbar will appear. Click “Replace” and Click “Upload”. Now select the image from your PC and it’ll be uploaded to the site.
- Here’s how the home page will look with the new image.
- Now we’ll edit the rest of the page. Scroll down to select and edit the remaining blocks.
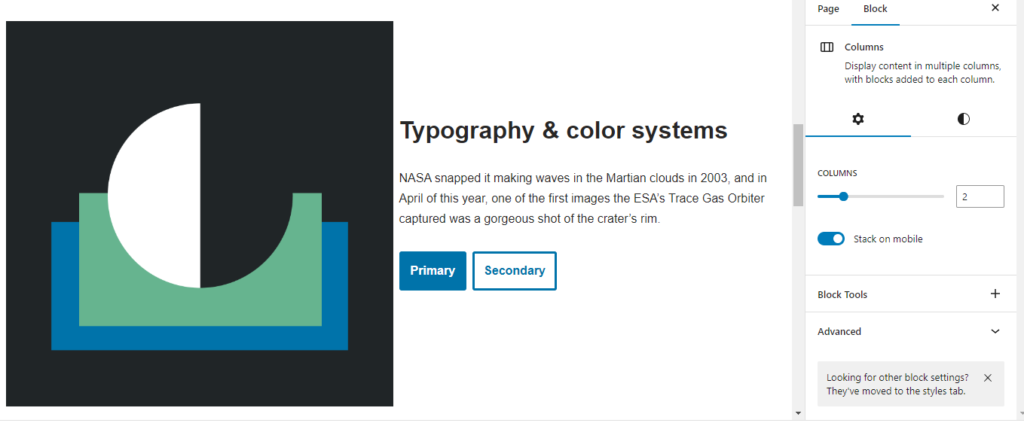
- You can change the image in the same way as before and edit the Headings and Subheadings. Here’s how it looks after editing.
- If you’re struggling to find the right words, you can use ChatGPT!
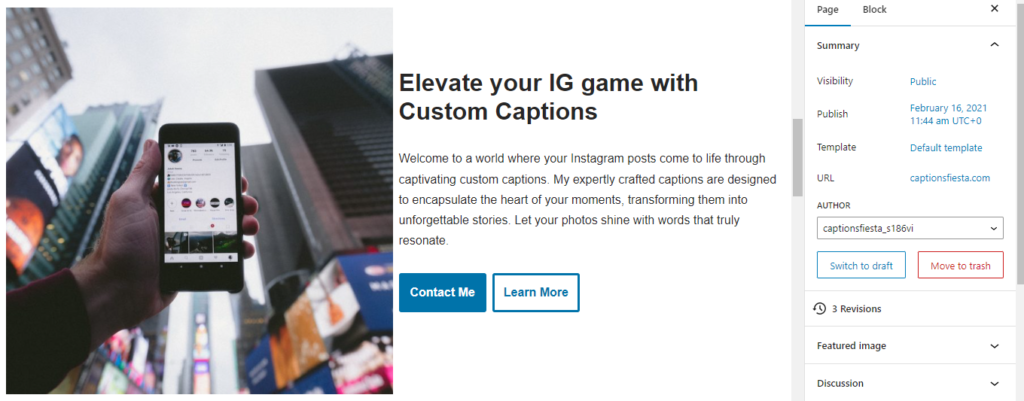
- The next block is an image and you can replace this with an image you like. I have used an image of the Eiffel Tower found on Unsplash.com
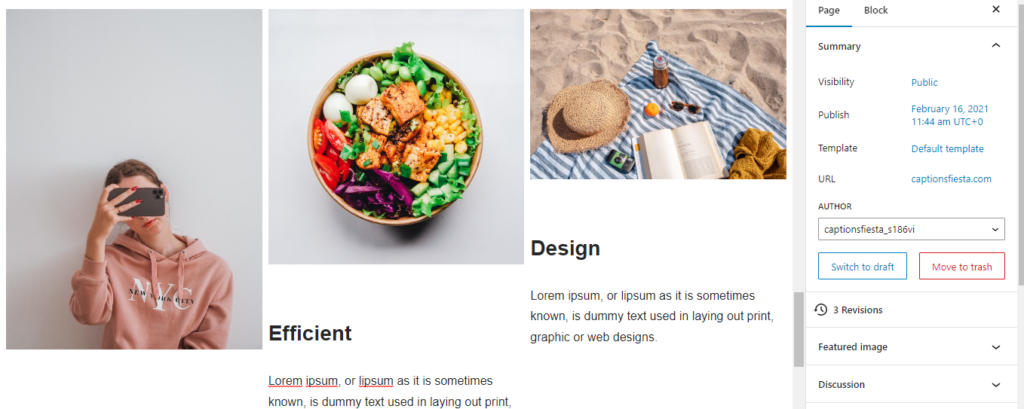
- Scroll down and now you’ll see the final section with 3 columns.
- You can add 3 images and edit the text based on the niche you selected for you website.
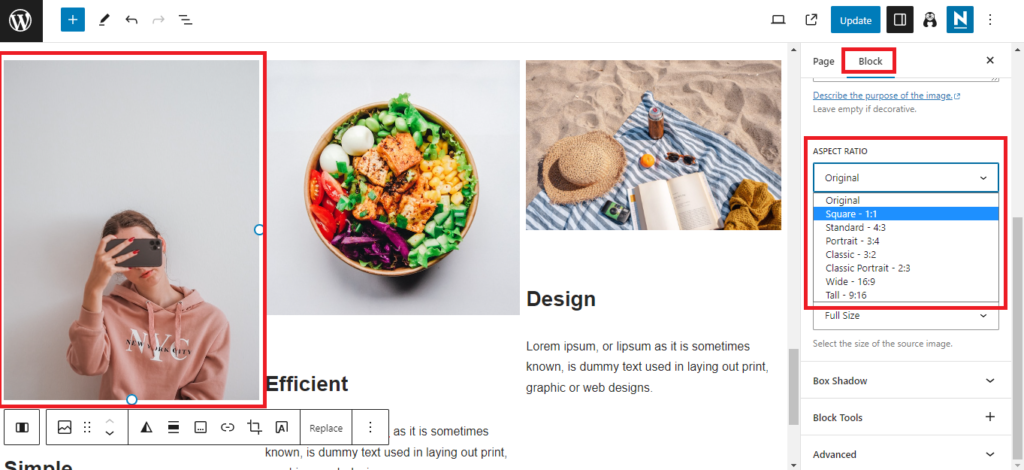
- Here as you can see in the below image, the height of images are not the same and it doesn’t look good like that. I’ll show you how to adjust them so they have the same height.
- You have to change the Aspect Ratio to 1:1 so that the image becomes a square and all 3 will have the same height.
- To do this, click on an image
- The click “Block” in the right side menu
- Scroll and click on “Aspect Ratio” and select “Square 1:1” from the drop down list.
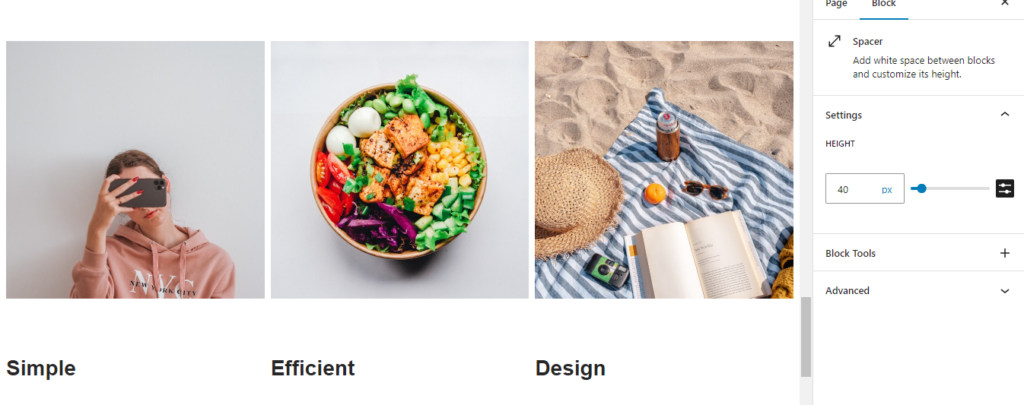
- Do the same and change Aspect Ratio of all images to 1:1 and you’ll get images with same height like this.
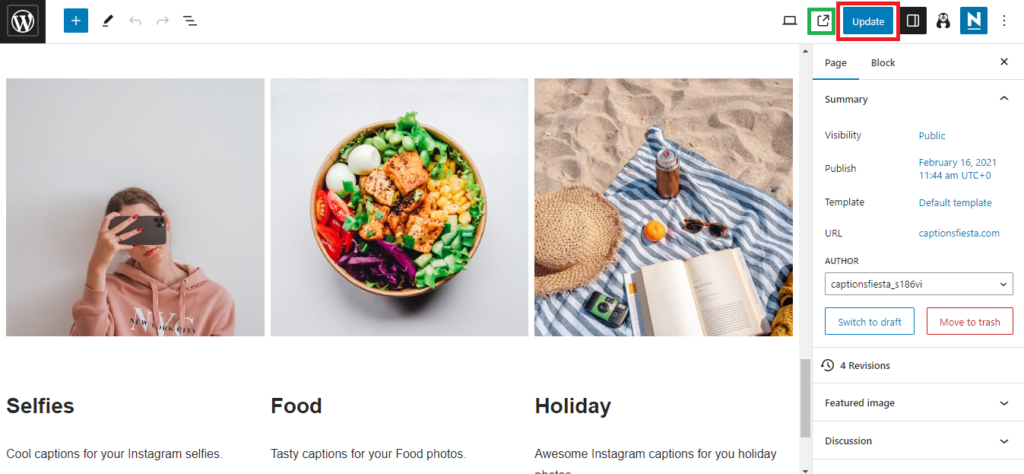
- After making these Edits, we have to save the edits.
- To do that, click “Update” button on the right upper corner (Red square in the below image)
- Now you can see the updated home page by clicking the “View Page” button to the left of the “Update” button (See Green box in the below image)
That’s all for today!
Tomorrow we’ll add About, Contact and Privacy Policy pages to the site.